All articles in this series
- JavaFX with Spring Boot Part-01: Introduction
- JavaFX with Spring Boot Part-02: Basic Integration
- JavaFX with Spring Boot Part-03: Advanced Integration
- JavaFX with Spring Boot Part-04: Using FXML
- JavaFX with Spring Boot Part-05: FxWeaver Integration
In the article, I will present how to setup a JavaFX project with Spring Boot. This will be a super simple application only to demonstrate the initial setup.
Creating an empty Spring Boot project
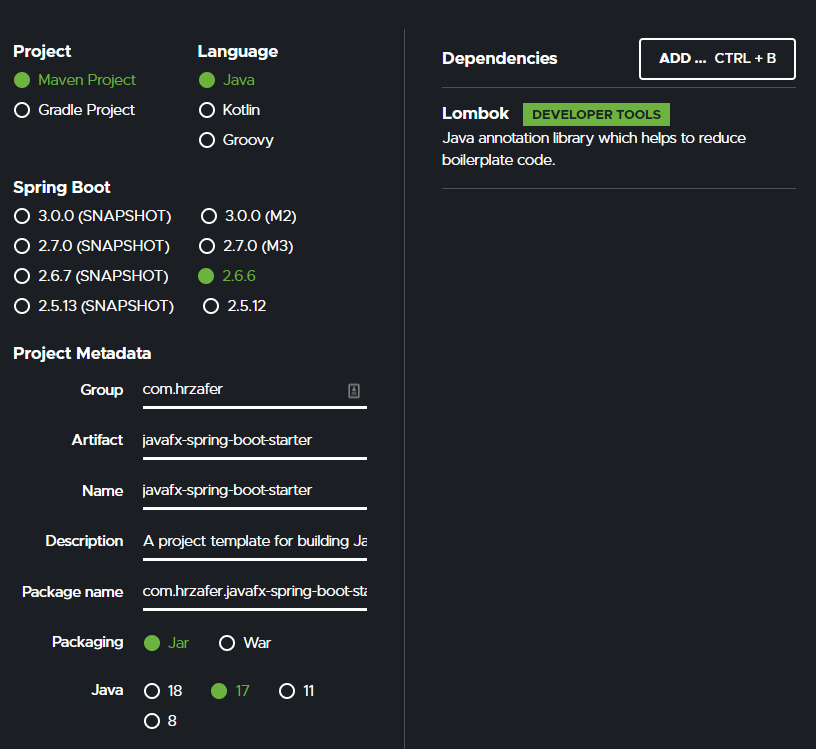
Since we’ll be using Spring Boot, it makes sense to use spring initialzr and create and empty project. Settings should look like this:

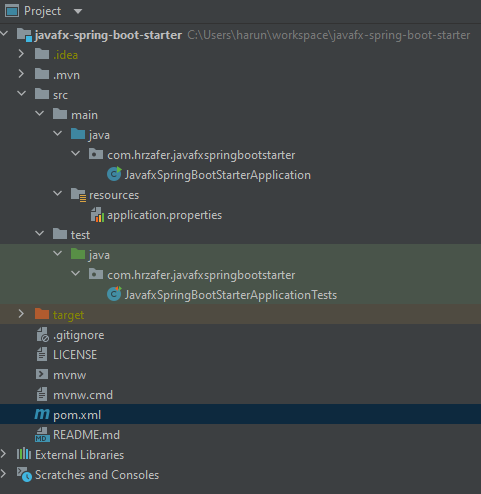
Note that the only dependency is Lombok which is optional. Now let’s take a look at the project structure.

As you can see nothing is special here. We only have one class as the main entry point of the application and that’s it. Let’s rename auto generated the class name from JavafxSpringBootStarterApplication to SpringBootApp.
@SpringBootApplication
public class SpringBootApp {
	public static void main(String[] args) {
		SpringApplication.run(SpringBootApp.class, args);
	}
}
At this point, we haven’t even added JavaFx as a dependency to our project.
Setting up the initial JavaFX Hello World app
Let’s start by adding JavaFX as a maven dependency first.
  <properties>
		<java.version>17</java.version>
		<javafx.version>17.0.1</javafx.version>
	</properties>

  ...

  <dependency>
    <groupId>org.openjfx</groupId>
    <artifactId>javafx-controls</artifactId>
    <version>${javafx.version}</version>
  </dependency>
Now we can write our super simple JavaFx hello world application class.
public class JavaFxApp extends Application {
    @Override
    public void start(Stage primaryStage) throws Exception {
        Pane helloPane = new Pane(new Label("Hello JavaFx"));
        primaryStage.setScene(new Scene(helloPane, 200, 100));
        primaryStage.show();
    }
}
And we launch JavaFxApp from SpringBootApp as follows. Note that we replaced SpringApplication.run with JavaFX’s Application class as Application.launch.
@SpringBootApplication
public class SpringBootApp {
    public static void main(String[] args) {
        Application.launch(JavaFxApp.class, args);
    }
}
In theory, we could merge move @SpringBootApplication and the main method into the JavaFxApp class and could get rid of SpringBootApp entirely. However, this wouldn’t work for a reason related to Java Modules. In a nutshell, if our application is a non-modular application, we have to separate application classes this way. Otherwise, we see the following error message:
Error: JavaFX runtime components are missing, and are required to run this applicationLet’s not forget to let Spring know that this is not a web application by adding the following to application.properties.
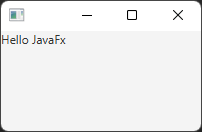
spring.main.web-application-type=noneNow if we run our SpringBootApp we should see something like this:

Conclusion
We have hooked up Spring with JavaFx but to able to making the full advantage of Spring, we need a little bit more wiring and I will explain that in the next article.
Source code for this article can be found here.
